Credits usage has reached0%.
Expected to run out of credits in0 days. If credits usage limit is exceeded, SKUs will automatically remove the integrated custom features.
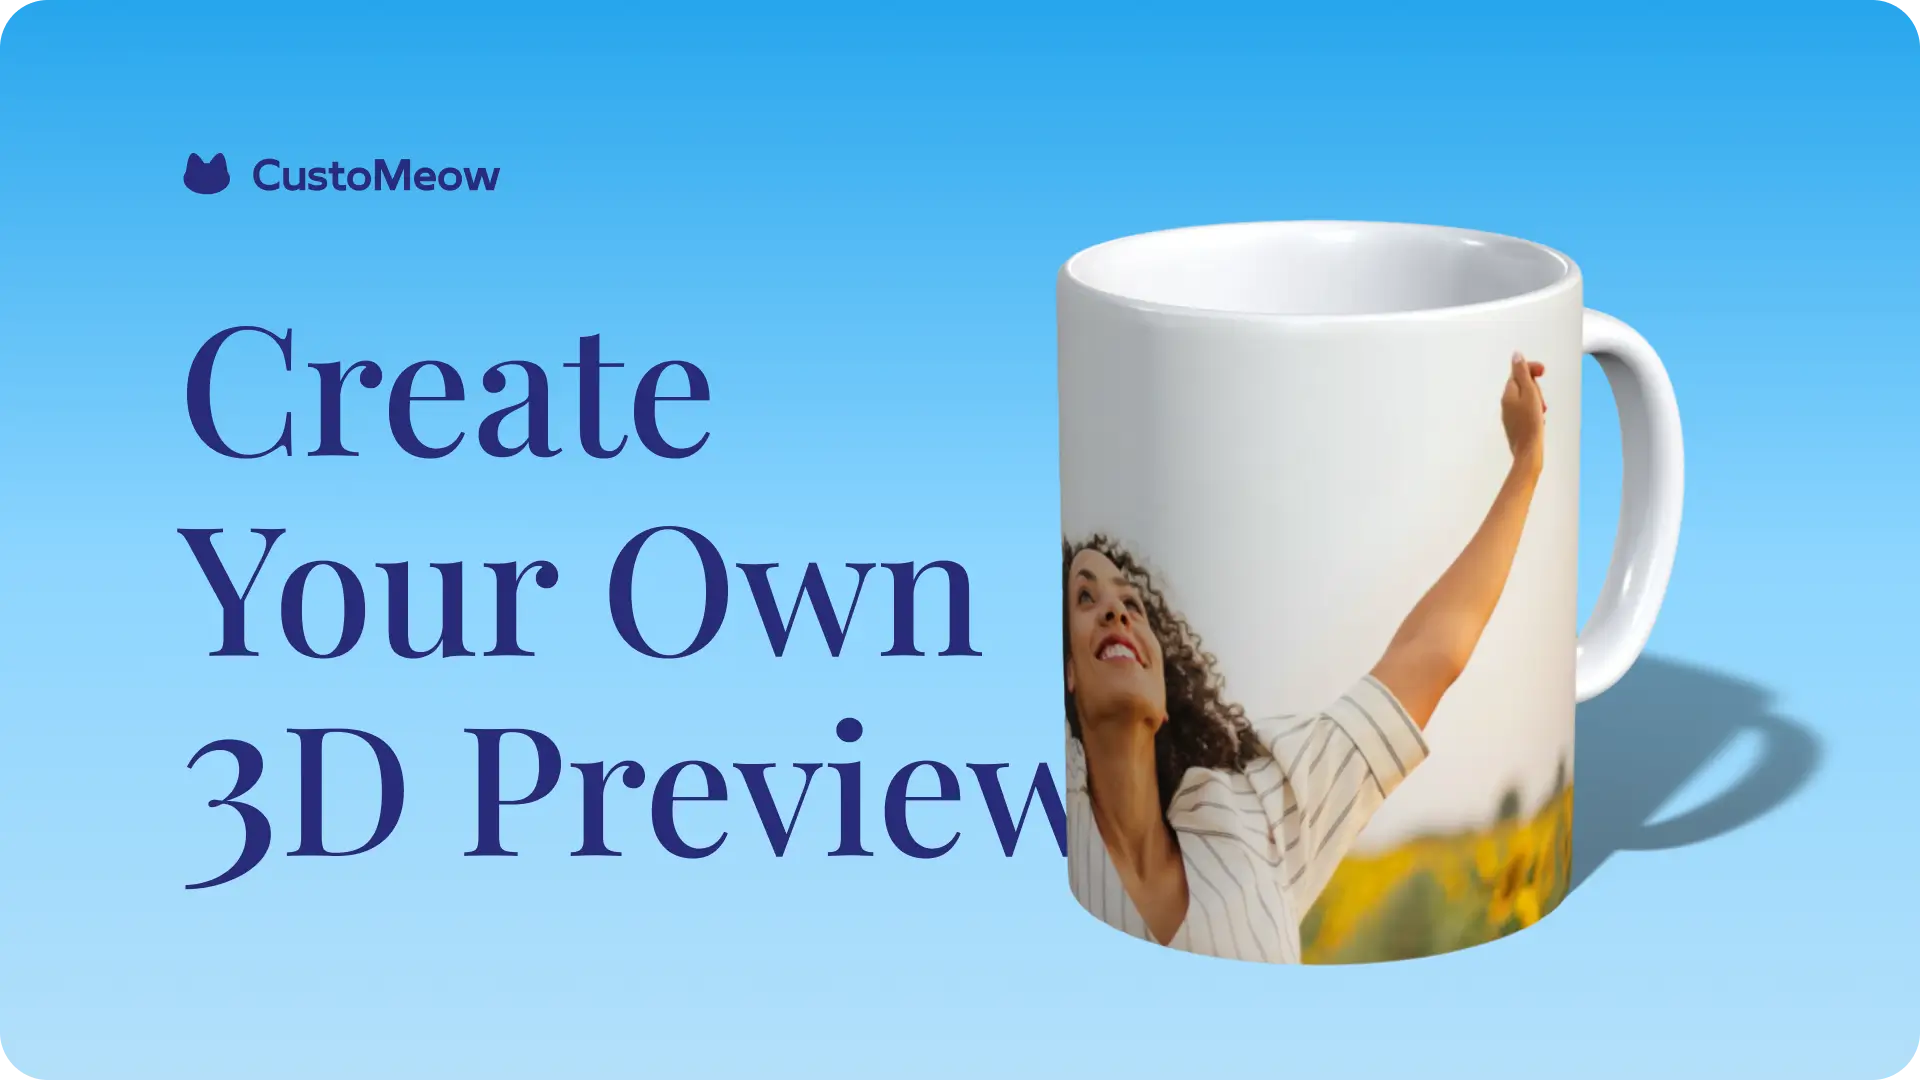
Create Your Own 3D Preview

Why personalized products need 3D previews during customization?
1. Bringing users a more realistic product experience.
2. Interactivity, allowing users to view your product from any angle.
3. Add animations to your product 3D model to boost conversion rate.
Demo of Custom Feature With 3D Preview
https://demo-shopify.customeow.io/products/custom-mugs-3d-preview-demo
🎓 Tutorial
1. Create your 3D model
Enter the Design Templates and click the "CREATE" button.
Select "Create 3D preview" and click.
Select "Create 3D model" and click.
Upload your product's 3D model to the Sketchfab website.
Sketchfab is empowering a new era of creativity by making it easy for anyone to publish and find 3D content online. With a community of millions of creators who have published millions of models, They are the largest platform for immersive and interactive 3D.
What you need to know about uploading 3D models
1. In your 3D model, only one UV layer is allowed for customization. If you have multiple UV layers for customization, please merge them into one.
2. Remember the width and height of your UV layer, and apply these dimensions to your design template after connecting the 3D model.
Paste the 3D model page link, or share the 3D model to get the link. Paste it and click the connect button.
Select the UV layer that needs to be replaced for preview and enter the dimensions of the UV layer.
At this point, the 3D model creation is complete.
2. Start your design.
Click on the created model to start designing.
Add your design elements and save design.
The 3D preview is now complete.
3. Import the 3D preview into your custom feature.
Enter the Feature Sets and click the "CREATE" button.
Select "Create a blank feature set" and click.
Drag the preview, text, and image upload components into the customization steps.
Switch to the data connection view and link the text and image upload components to the layers of the 3D preview design template.
Click "Preview" to see the final effect.